The Left Handed Calligrapher contains affiliate links and is a member of the Amazon Services LLC Associates Program. If you make a purchase using one of these Amazon links, we may receive compensation at no extra cost to you. See our Disclosure Policy for more information. This post was first published in 2018. The contents have […]
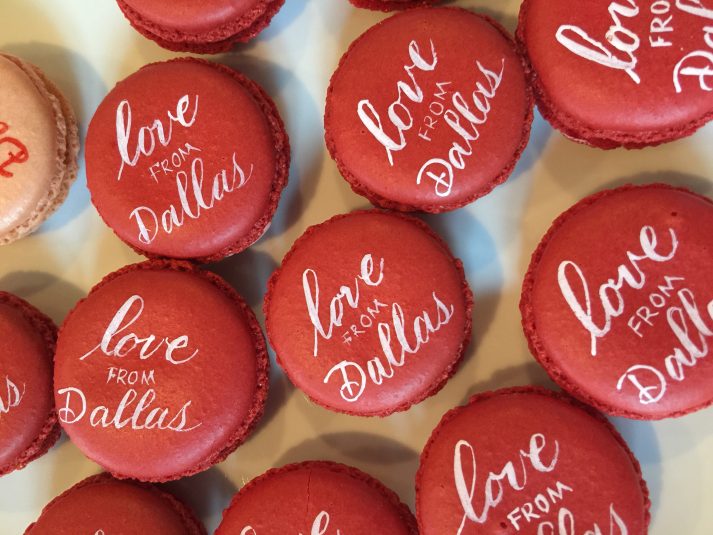
Spring Wedding Elegance With Some Serious Flower Power
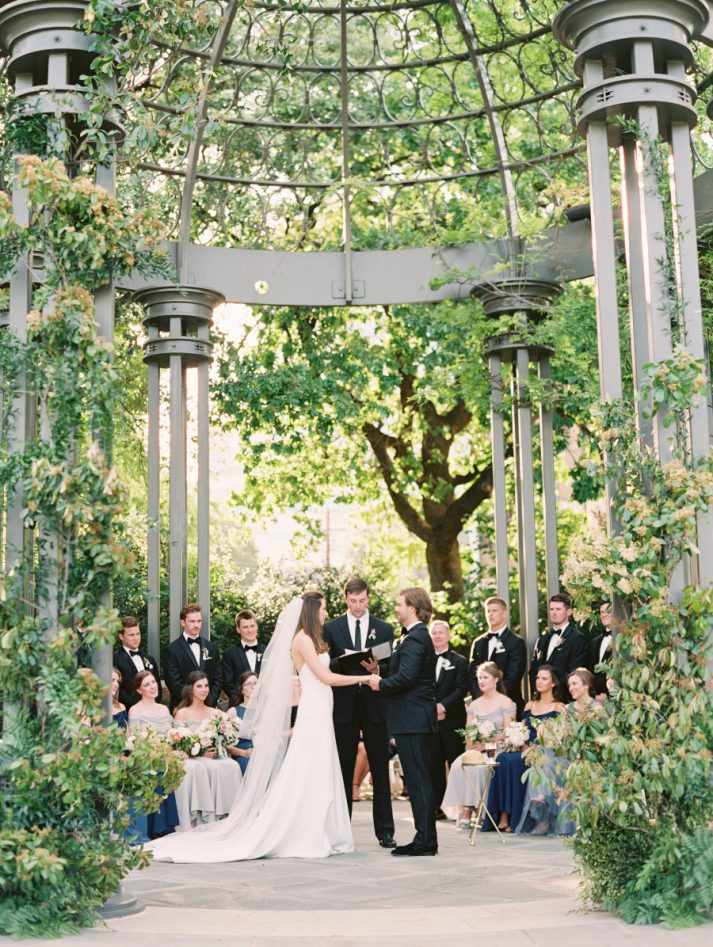
Spring Wedding Elegance With Some Serious Flower Power was recently published! Working with a team of talented vendors on a wedding is one of my greatest joys. I adore that everyone with different talents brings their skill to a project to make a magnificent piece of collaborative art. The event will communicate all the feelings […]
Parisian Flourished Calligraphy Place Cards

Parisian flourished calligraphy place cards I had the joy of providing Parisian flourished calligraphy place cards for the gala dinner at The Inner Circle Experience this past week. For this special luxury vendor industry party, I thought it was fitting to flex my calligraphy muscles a bit. I worked with the talented Ceci New York […]
Romantic Wedding Invitation
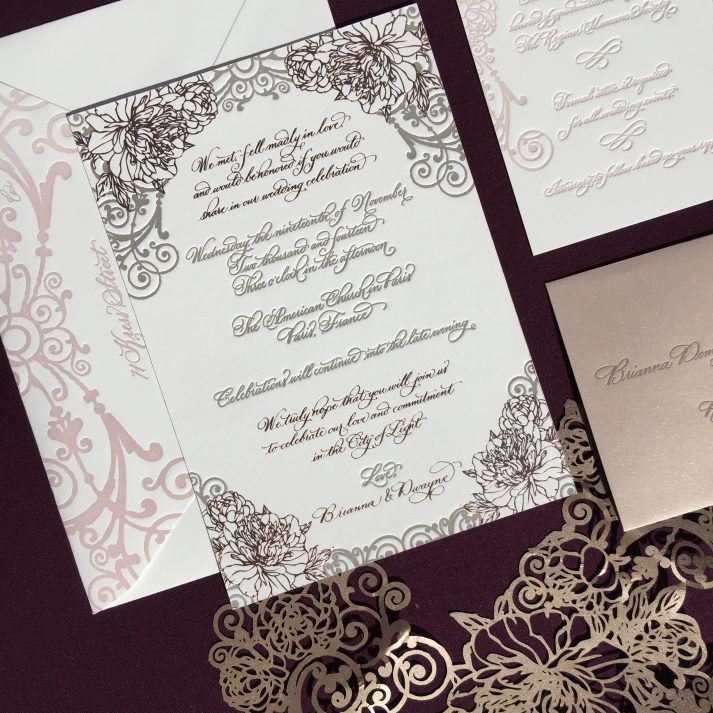
This romantic wedding invitation was created by the talented Ceci New York back in 2014. I had the immense joy of providing the calligraphy for the invitation as well as envelope addressing and seating cards. The letterpress and rose gold foil treatment was forward thinking 2 years ago (hard to believe it’s been that long!) […]
Mexico Destination Wedding

When you have a Mexico destination wedding….you go for color and texture and FUN! This past year I had the pleasure of contributing to many celebrations in Mexico and wanted to share a few of the print pieces with you. This save the date was laser cut in the picadillo style in a hot pink […]
- 1
- 2
- 3
- …
- 17
- Next Page »